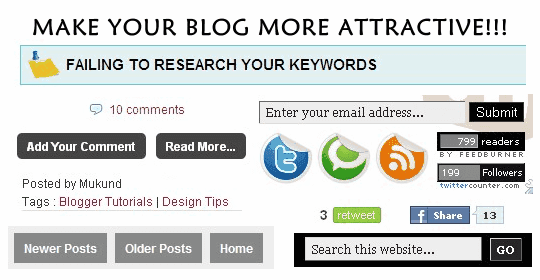
Hi friends!!! I received a lot of emails regarding the newer post and older post links. Many bloggers who run their blog especially those run on Revolution Church Blogger Template wanted to add "Newer Posts And Older Posts" link just like the one displayed on my blog. So, this post is specifically targeted to those who wish to have their page navigation as displayed below - check the encircled part in the picture below.

1. Navigate to "Design->Edit HTML" from your blogger dashboard. Make a backup of your template before modifying the HTML by clicking on the "Download full template" link at the top of the page.
2. Now, search for the following block of code in your template. Use "CTRL+F" to fasten your search.
2. Now, search for the following block of code in your template. Use "CTRL+F" to fasten your search.
#blog-pager-newer-link {
float: left;
display:none;
}
#blog-pager-older-link {
float: right;
display:none;
}
#blog-pager {
text-align: center;
display:none;
}
float: left;
display:none;
}
#blog-pager-older-link {
float: right;
display:none;
}
#blog-pager {
text-align: center;
display:none;
}
Note: If you do not find the above block of code, then you should find the following block.
#blog-pager-newer-link {
float: $startSide;
}
#blog-pager-older-link {
float: $endSide;
}
#blog-pager {
text-align: center;
}
float: $startSide;
}
#blog-pager-older-link {
float: $endSide;
}
#blog-pager {
text-align: center;
}
3. Now, replace the above mentioned block of code with following block of code.
#blog-pager-newer-link {
float: left;
display:inline;
}
#blog-pager-older-link {
float: right;
display:inline;
}
#blog-pager {
text-align: center;
display:inline;
}
float: left;
display:inline;
}
#blog-pager-older-link {
float: right;
display:inline;
}
#blog-pager {
text-align: center;
display:inline;
}
.blog-pager{font-size:12px;}
.blog-pager a:link, .blog-pager a:visited{
display:block;
float:left;
padding:6px 10px;
text-align:center;
background:#888;
color:#FFF;
font-size:12px;
font-weight:bold;
margin-right:8px;
}
.blog-pager a:hover{
background:#444;
color:#FFF;
}
.blog-pager a:link, .blog-pager a:visited{
display:block;
float:left;
padding:6px 10px;
text-align:center;
background:#888;
color:#FFF;
font-size:12px;
font-weight:bold;
margin-right:8px;
}
.blog-pager a:hover{
background:#444;
color:#FFF;
}
4. Save your template. That's it. Very simple!!! Isn't it???
CUSTOMIZATION:
CUSTOMIZATION:
You can change the colors of the blocks by changing the color codes. To do so, first finalize what color you want the button to display before hovering. Later, decide what color the button should display on mouse hover. Check out the HTML color code table here - HTML Color Code Table. Now, replace the text highlighted in green on step 3 with the code you chose from the HTML color code table.
If you find any difficulties in installing the above mentioned scripts, then leave your comments below or contact me via email. If you got inspired by a page navigation style run on some other blog, you can share it with us. We will find the code for that style and post it on our blog in the upcoming weeks. So, keep your comments coming.