I'm very happy to announce that I'm about to complete an exclusive premium blogger template namely, "Money Maker" blogger template. This premium blogger template is very similar to the "Ultimate Blogging Theme" run on Wordpress. So, we can call it as "
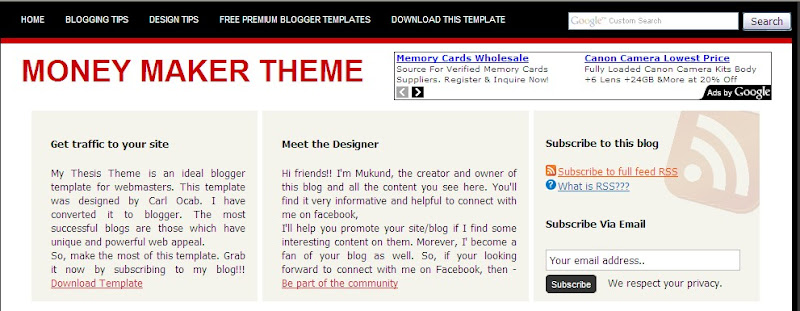
Ultimate Blogging Theme For Blogger". We have a little twist in releasing this template. So, read the complete post and don't forget to read the criteria at the end. Take a look at the screen shot below posted to the right.
 |
| CLICK TO ENLARGE |
I'm pretty sure people running their blogs currently on Wordpress will be jealous of blogs run on blogger if this template comes into existence. I mentioned this statement because the Wordpress version of this template is priced at $147 whereas, it's gonna be
absolutely free for blogger blogs. Excited with the news??? Hold on!!! There are few constraints that must be satisfied before I release the blogger version of this template for free. Before I post the criteria for the free release, just have a look at the features of this template.
FEATURES: 1. MAXIMIZE YOUR ADSENSE EARNINGS:The name of the template (Money Maker) clearly explains about this feature.
The template includes ad units placed at four effective locations just to maximize your Adsense click rates. The various ad locations include but are not limited to HEADER AD (468x60), ADS AT THE END OF THE POSTS (468x60 or 300x250 or 250x250), ADS AT THE END OF THE COMMENTS (468x60 or 300x250 or 250x250), SIDEBAR ADS (125x125).
 |
| CLICK ON THE PICTURE TO ENLARGE |
2. BEAUTIFUL DESIGNED GREET BOX AND SUBSCRIPTION BOX:The template comes with a beautifully designed greet box and subscription box which you will not find in most of the premium templates. I guarantee that about 95% of the premium blogger templates do not include this feature.
 |
| CLICK ON THE PICTURE TO ENLARGE |
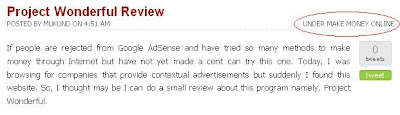
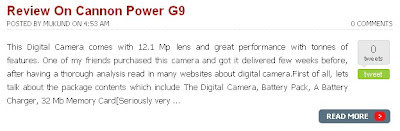
3. UNIQUE DISPLAY OF POST-LABELS:Most of the blogger templates display the post labels with the name labels to the right under the post title. But, this template is pretty unique. It will show the post-labels to the right of the post title. Take a look at the screen shot below for better understanding.
 |
| CLICK ON THE PICTURE TO ENLARGE |
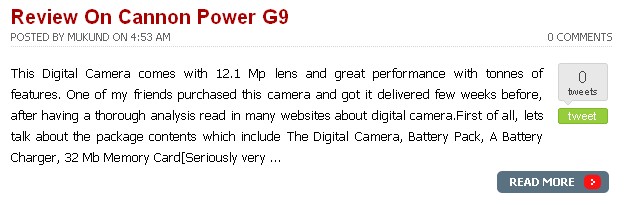
4. AUTOMATIC READ MORE HACK WITH READY TWEET BUTTON: The template comes with an automatic read more hack installed for all the posts. It is very important to note that the text alignment for each post on the homepage is justified. This is not the case with the earlier versions of Automatic Read More Hack for blogs on blogger. The template includes a ready to use tweet/re-tweet button. So, it is pretty easy to add more social bookmarking buttons provided you know where the code for tweet button is located in the template.
 |
| CLICK ON THE PICTURE TO ENLARGE |
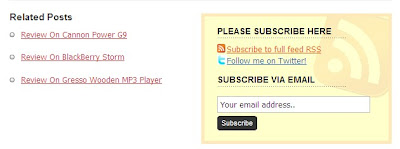
5. UNIQUE RELATED POSTS WITH SUBSCRIPTION BOX AT END OF EACH POST:The template comes with an unique related post widget similar to the widgets seen on Wordpress blogs. It includes an email subscription box adjacent to the related posts widget making the overall look of the blog more professional.
 |
| CLICK ON THE PICTURE TO ENLARGE |
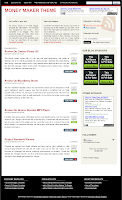
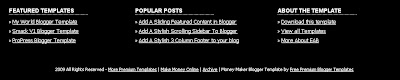
6. FLEXIBLE THREE COLUMN FOOTER:The template comes with a matching three column footer. It is very flexible such that it can accommodate a leader board ad unit (728x90) at the top apart from the individually allotted columns for various widgets.
 |
| CLICK ON THE PICTURE TO ENLARGE |
The template includes more features apart from the ones mentioned above. I'm currently working on few of them, which includes "Wordpress Like Comments Section" and "Stylish Newer Post and Older Posts" link, in other words, a stylish page navigation for the template. Moreover, the template is highly Search Engine Optimized (SEO) and it provides a lot of space for further customizations which will be updated after the release of the template.
CRITERIA: I plan to release the blogger version of "Ultimate Blogging Theme" for free provided, I get at least 50 tweets/re-tweets and minimum of 50 comments for this post. Please note that, this criteria (minimum of 50 tweets and 50 comments) is fixed only to know, whether people are really interested with this template or not. So, if you need this template, leave a comment below.
The template will be registered under "MyFreeCopyrights" and will also be registered under Creative Common License in a few days. Once, it is registered, I will release the link (LIVE DEMO) for the blogger version of this template. Because, people can easily decode the HTML for the templates released on blogger/blogspot domains.
So, you people are gonna be the judges for this template. Should this template become a $147 give away??? Or do you think, this should be released for some price??? If you feel it is worth nothing, you can post even that. Because, I would be happy to use this template for my very own blog:) So, it's up to guys!!! Start commenting!!!
LIVE DEMO RELEASED: MONEY MAKER BLOGGER TEMPLATEUPDATE : TEMPLATE RELEASED - CLICK HERE